


Introduction
In the world of printing, achieving professional and polished results is crucial. One important concept that every print designer and enthusiast should understand is print bleed. Print bleed plays a significant role in ensuring that your printed materials look seamless and visually appealing. In this article, we will explore the concept of print bleed, its importance, and how to effectively use it to enhance your printed designs.
Table of Contents
- Understanding Print Bleed
- The Importance of Print Bleed
- Setting Up Print Bleed in Design Software
- Applying Print Bleed to Different Print Materials
- Common Mistakes to Avoid
- Print Bleed Best Practices
- Ensuring Print Quality with Bleed
- Troubleshooting Print Bleed Issues
- Print Bleed: Frequently Asked Questions (FAQs)
- What is print bleed?
- Why is print bleed important in printing?
- How much bleed should I include in my design?
- Can I add bleed to an existing design?
- What file formats support print bleed?
Understanding Print Bleed
Print bleed refers to the intentional extension of design elements beyond the trimmed edges of a printed piece. When a design includes bleed, it means that the ink extends beyond the final size of the document. This additional area compensates for slight variations that may occur during the trimming process. By incorporating print bleed, you ensure that there are no white borders or unintended gaps on the edges of your printed materials.
The Importance of Print Bleed
Including print bleed is vital to achieving professional print results. It ensures that your design elements, such as images, colors, and patterns, reach the edge of the final trimmed piece without any white space showing. Without bleed, you run the risk of having unsightly borders or awkward gaps, which can make your printed materials look unprofessional and unfinished.
Setting Up Print Bleed in Design Software
To set up print bleed in design software, follow these steps:
- Open your design software and create a new document.
- Set the document dimensions to include the final trimmed size.
- Add an additional margin around the document for bleed. The recommended bleed size is usually 0.125 inches (3mm) or as specified by your print provider.
- Ensure that all important design elements extend into the bleed area.
- Save your file in the appropriate format, considering your print provider’s requirements.
Applying Print Bleed to Different Print Materials
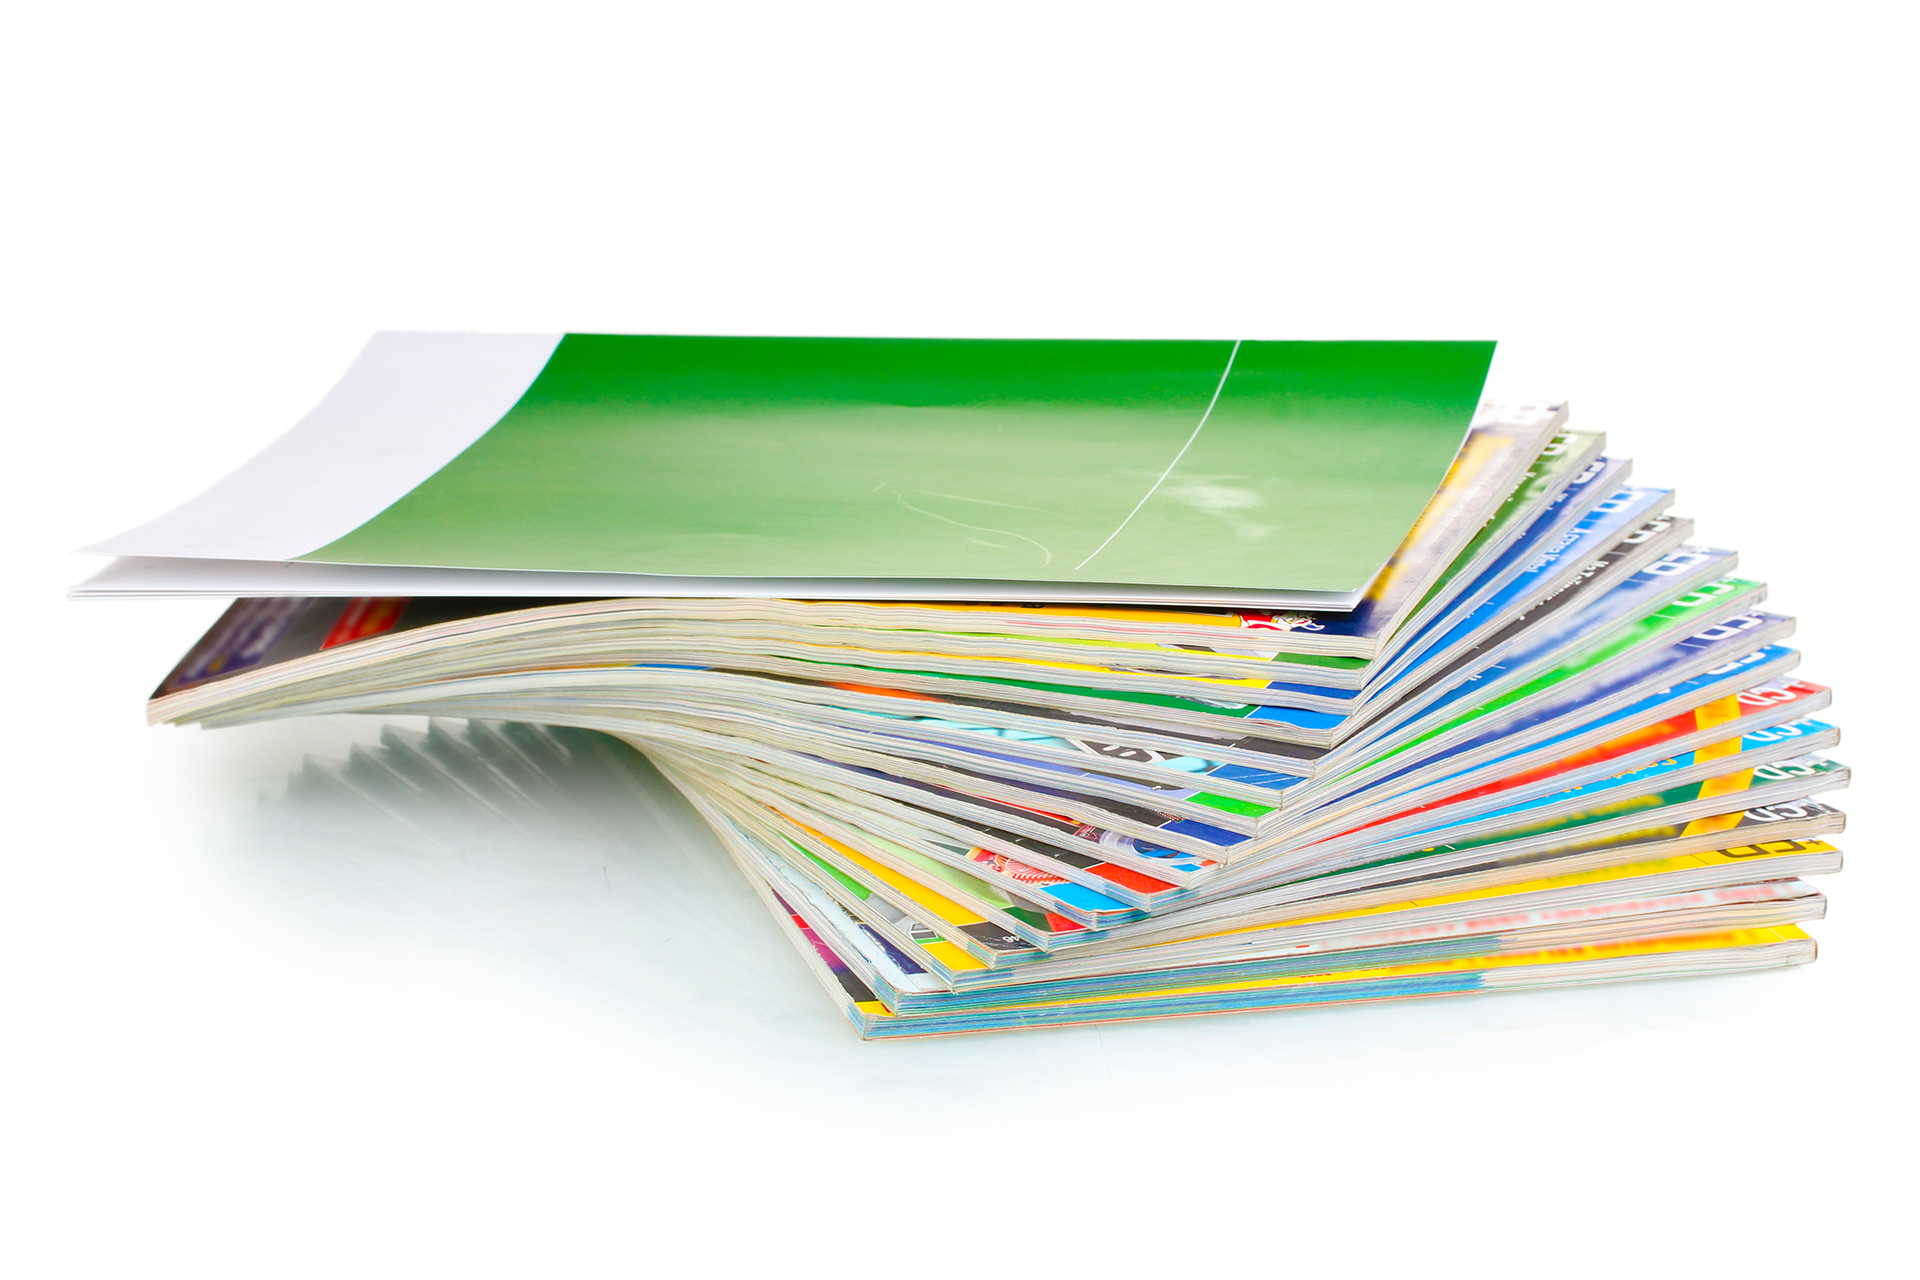
Print bleed is essential for various print materials, including business cards, brochures, flyers, posters, and magazines. Regardless of the print medium, incorporating bleed ensures that the final printed product appears seamless and professional. Always check with your print provider for their specific bleed requirements, as they may vary depending on the printing method and equipment used.
Common Mistakes to Avoid
When working with print bleed, there are a few common mistakes you should avoid:
- Insufficient bleed area: Failing to extend design elements adequately into the bleed area can result in unwanted white borders.
- Incorrect file setup: Forgetting to set up your document with the correct dimensions and bleed margin may lead to print errors and unwanted cropping.
- Poor image resolution: Using low-resolution images can result in pixelation and poor print quality, especially when bleed is involved.
- Ignoring print guidelines: Each print provider may have specific guidelines for bleed and file formats. Ignoring these guidelines can lead to printing issues and delays.
Print Bleed Best Practices
To ensure optimal print results, consider the following best practices when working with print bleed:
- Incorporate bleed from the beginning: Start your design with bleed in mind, ensuring that all important elements extend into the bleed area.
- Use high-resolution images: To maintain print quality, use images with a resolution of at least 300 DPI (dots per inch).
- Follow print provider guidelines: Always review and adhere to the bleed requirements and file format specifications provided by your print provider.
- Proofread and double-check: Before sending your design for printing, thoroughly review it for any errors or inconsistencies.
- Consult with professionals: If you’re unsure about bleed or print specifications, don’t hesitate to seek guidance from professional print designers or your print provider.
Ensuring Print Quality with Bleed
By incorporating print bleed into your designs, you can ensure that your printed materials have a professional and polished appearance. The extra margin of bleed compensates for any slight misalignment during the trimming process, resulting in clean and visually appealing printed pieces.
Troubleshooting Print Bleed Issues
In some cases, you may encounter issues with print bleed. Here are a few troubleshooting tips to help you overcome common problems:
- Check your design software: Ensure that your design software is set up correctly and that you’ve included the required bleed area.
- Verify your print file format: Confirm that you’ve saved your file in the appropriate format, as specified by your print provider.
- Review image resolutions: Double-check that all images in your design have a resolution of at least 300 DPI to maintain print quality.
- Consult your print provider: If you’re still experiencing issues, contact your print provider for guidance and support.
Print Bleed: Frequently Asked Questions (FAQs)
1. What is print bleed?
Print bleed refers to the intentional extension of design elements beyond the trimmed edges of a printed piece. It ensures that there are no white borders or unintended gaps on the edges of your printed materials.
2. Why is print bleed important in printing?
Print bleed is important because it ensures that your design elements reach the edge of the final trimmed piece without any white space showing. It helps create a seamless and professional appearance for your printed materials.
3. How much bleed should I include in my design?
The recommended bleed size is typically 0.125 inches (3mm), although this may vary depending on your print provider’s requirements. Always check with your print provider for their specific bleed guidelines.
4. Can I add bleed to an existing design?
Yes, you can add bleed to an existing design in most design software. However, it may require adjusting and extending the design elements to fit within the bleed area.
5. What file formats support print bleed?
Most common file formats, such as PDF, TIFF, and EPS, support print bleed. However, it’s essential to confirm the specific file format requirements with your print provider.
Conclusion
Understanding print bleed is essential for anyone involved in print design. By incorporating print bleed correctly, you can ensure that your printed materials have a professional and polished appearance. Remember to set up your document with the appropriate bleed margins, extend design elements into the bleed area, and follow the guidelines provided by your print provider. With print bleed, you can achieve visually stunning printed pieces that leave a lasting impression.